Are you feeling overwhelmed by a never-ending stream of emails?
Do important messages get lost in the clutter? For years, Gmail’s Multiple Inboxes feature has been my secret weapon for staying organized and on top of everything. Just today, I showed a team member how to use it, and their reaction was priceless!
This simple yet incredibly effective feature allows you to segment your inbox based on priority or status, making it surprisingly easy to manage your emails. I even took the chance to declutter my own inbox and add some fun emojis for better visual organization!
How to Master Gmail’s Multiple Inboxes
If you’re struggling to keep your inbox under control, here’s a step-by-step guide to setting up Gmail’s Multiple Inboxes and bringing order to the chaos:
Step 1: Open Gmail Settings
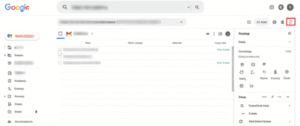
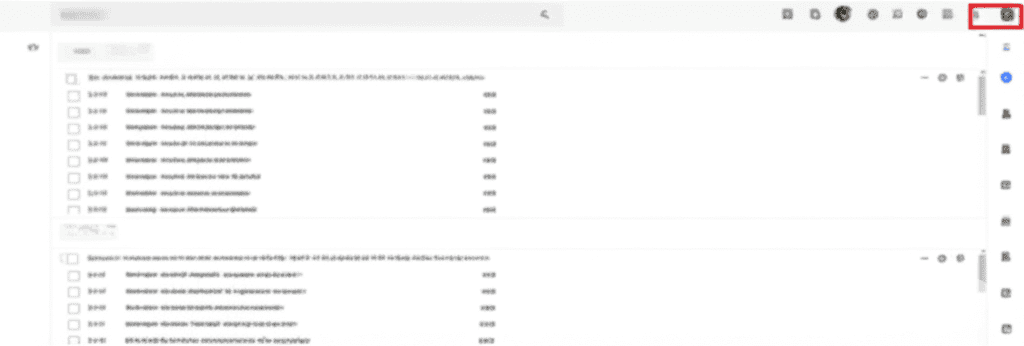
In your Gmail inbox, locate the cog icon (Settings) in the top right corner of the page. Click on it, and a quick settings menu will appear. From there, select “See all settings”.
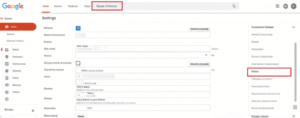
In the Gmail settings menu, click on the “Inbox” tab.
Step 3: Set Inbox Type to Multiple Inboxes
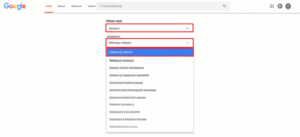
Under the “Inbox type” section, click on the dropdown menu. Choose “Multiple inboxes” from the options.
Step 4: Configure Multiple Inbox Sections
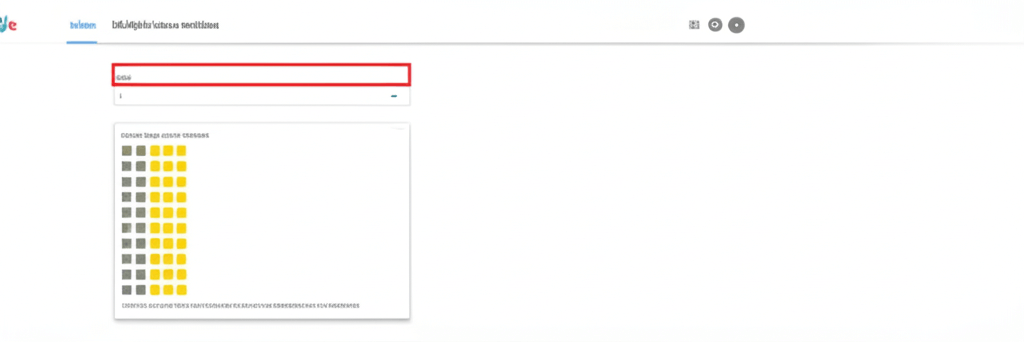
Once you select “Multiple inboxes,” new options will appear under “Multiple inbox sections”. Here, you’ll add rows to define your custom inboxes. Each row represents a new section in your inbox.
For example, you can create sections like “High Priority,” “Awaiting Reply,” “Follow Up,” etc. For each section you want, add a new row.
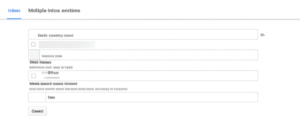
Step 5: Define Search Queries for Each Section
This is where the magic happens! In the left column of each row, you’ll add a specific search query that tells Gmail which emails should appear in that section. You can use various Gmail search operators, but for this method, we’ll focus on using stars with different symbols.
Here are some handy search queries based on star colors and symbols:
- Yellow Star:
has:yellow-star - Blue Star:
has:blue-star - Green Star:
has:green-star - Orange Star:
has:orange-star - Red Star:
has:red-star - Purple Star:
has:purple-star - Green Check:
has:green-check✅ - Blue Info:
has:blue-infoℹ️ - Red Bang:
has:red-bang❗ - Purple Question:
has:purple-question❓
Add one of these queries to each row you created.
Step 6: Name Your Sections
In the right column of each row, give a clear and descriptive name to your corresponding inbox section. This is how the sections will be labeled in your inbox.

Step 7: Save Your Changes
Once you’ve configured all your desired sections and queries, scroll down to the bottom of the “Inbox” settings and click “Save Changes”.

Step 8: Organize Your Inbox with Stars and Archive
Now, go back to your main Gmail inbox. For each email, decide which category it belongs to and star it with the corresponding symbol.
Once you’ve starred the relevant emails, select them and click the “Archive” button (the arrow pointing down to a box).
Step 9: Enjoy Your Organized Inbox!
When you refresh your Gmail page, you’ll see your inbox neatly divided into the sections you created. Emails you’ve starred and archived will now appear under their respective headings, making it much easier to focus on what matters most!

By using Gmail’s Multiple Inboxes with star symbols and a little bit of emoji magic, you can transform your chaotic inbox into a streamlined and visually organized workspace! Give it a try and experience the peace of mind that comes with inbox mastery. 😌

